
A warm and cozy fireplace can be the heart of your home during the colder months, providing comfort and ambiance. However, a leaking chimney can quickly turn that comfort into a headache. If you’ve noticed water seeping into your fireplace or heard the telltale drip, it’s time to consider chimney cap replacement. In this comprehensive guide, we’ll explore why chimney caps are essential, signs that your chimney cap needs replacing, and the steps involved in chimney cap replacement. Say goodbye to fireplace leaks and protect your home with Chimney Works Masonry and Chimney Cleaning.
Why Chimney Caps Matter
Chimney caps are often overlooked components of a home’s chimney system, but they play a crucial role in preventing a range of problems, including water damage, pests, and debris buildup. Here’s why chimney caps matter:
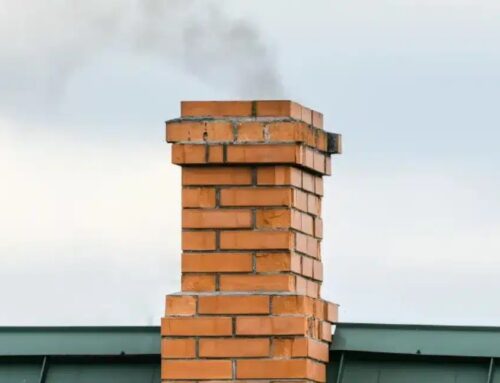
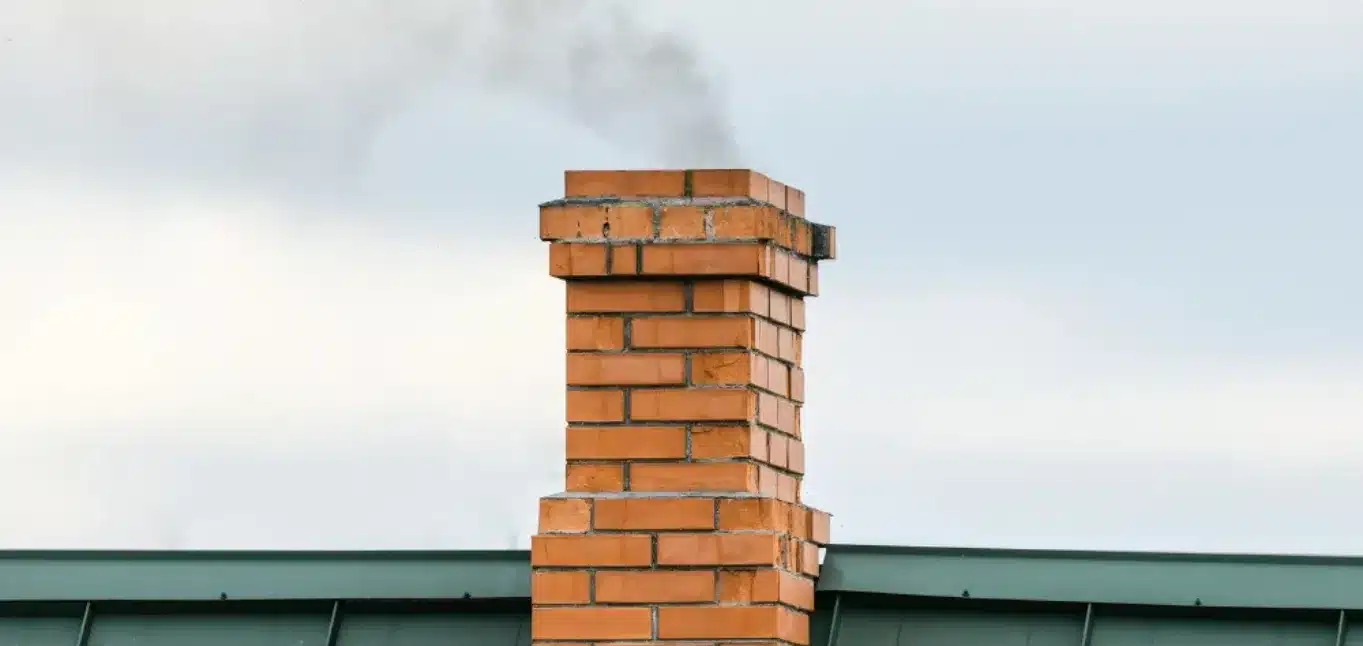
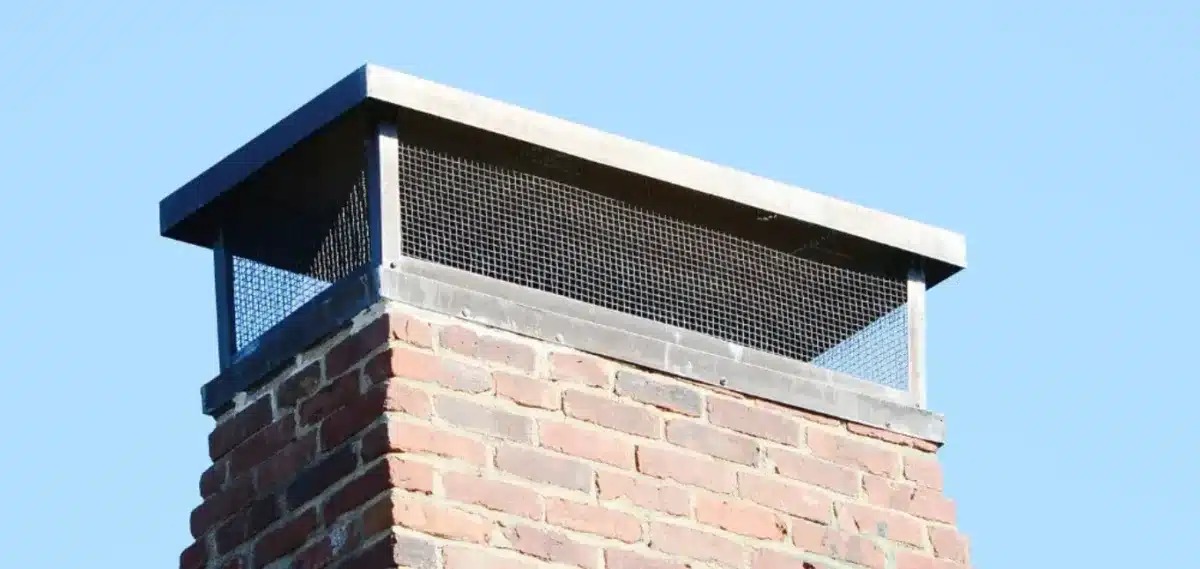
Water Protection: One of the primary functions of a Chimney Cap is to keep rainwater from entering your chimney. Water can cause extensive damage, from deteriorating the chimney structure to creating unsightly stains on your interior walls.
Pest Prevention: Without a chimney cap, birds, squirrels, and other critters may see your chimney as an inviting nesting site. This can lead to blockages, foul odors, and potential fire hazards.
Debris Blockage: Leaves, branches, and other debris can easily find their way into an uncapped chimney. This can create blockages, which in turn can cause smoke and dangerous gases to back up into your home.
Signs Your Chimney Cap Needs Replacing
Now that you understand the importance of a chimney cap, here are some signs that it may be time for a replacement:
Visible Damage: If your chimney cap shows visible signs of wear and tear, such as rust, cracks, or missing pieces, it’s time for a replacement. These issues compromise its effectiveness.
Water Leaks: Water stains or dampness around your fireplace are clear indicators of a faulty chimney cap that’s allowing moisture to seep in.
Animal Infestations: If you hear scratching or animal noises in your chimney, it’s a sure sign that pests have made their way in through a damaged or missing cap.
Poor Draft or Smoke Issues: A malfunctioning chimney cap can disrupt the draft, causing smoke to enter your home instead of being properly vented.
Chimney Cap Replacement Process
Now that you’ve identified the need for a chimney cap replacement, let’s walk through the process:
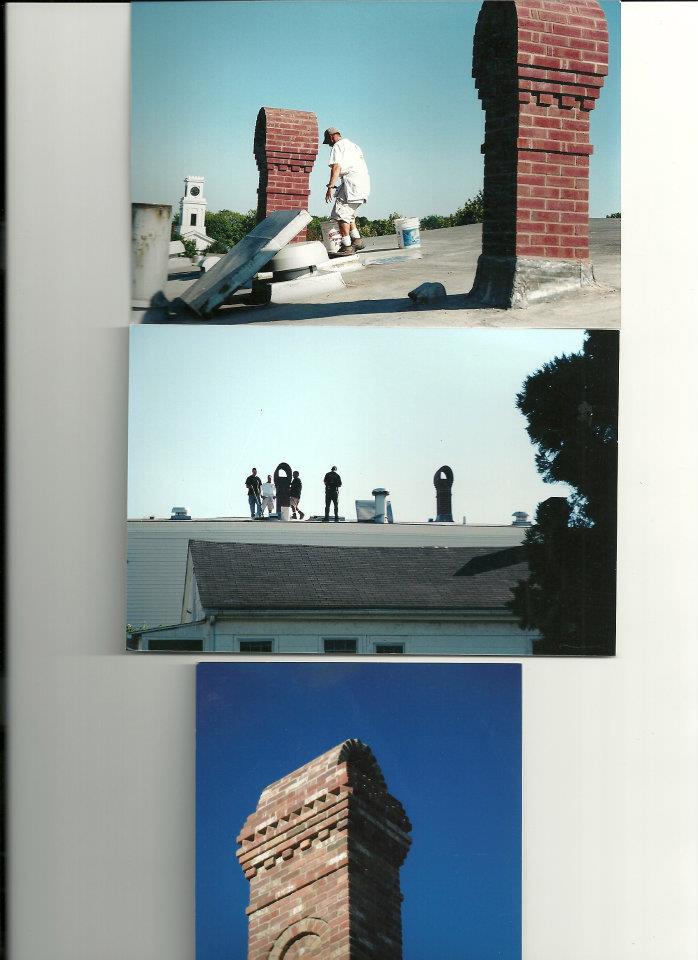
Safety First: Before starting any work on your chimney, ensure you have the right safety gear, such as gloves, eye protection, and a secure ladder.
Measure and Choose: Measure the dimensions of your chimney flue to select the correct size and type of chimney cap. Caps come in various styles, including single flue, multi-flue, and decorative options.
Remove the Old Cap: If you have an existing cap, carefully remove it, taking note of how it was attached. Be cautious as old caps may be rusty or deteriorated.
Clean the Flue: Before installing the new cap, clean the chimney flue of any debris, soot, or creosote buildup.
Install the New Cap: Secure the new chimney cap according to the manufacturer’s instructions, ensuring a snug fit and proper sealing. This step may require drilling and screwing the cap into place.
Check for Proper Fit: Make sure the chimney cap is securely fastened and doesn’t wobble.
Inspect the Surroundings: Take a moment to check the area around your chimney for any signs of damage or leaks. Address any additional issues promptly.
A chimney cap replacement may not be the most glamorous home improvement project, but it’s essential for preserving the integrity of your chimney and protecting your home from water damage, pests, and debris buildup. If you’ve noticed any signs that your chimney cap needs replacing, don’t delay—contact Chimney Works Masonry and Chimney Cleaning for professional assistance. Say goodbye to fireplace leaks and enjoy your cozy fireside retreat without worries or headaches. Your home’s comfort and safety depend on it.
